Using FileZilla to Upload your Web Pages
Step 1 Download the Software Program FileZilla
FileZilla is a client application for both Windows and Macintosh computers that allows you to transfer your files from your home computer to the public_html folder on the Computer Science (CS) server. You can download the application free from the Software page located in the Resources folder of the course website. Once you have downloaded and installed the application, the FileZilla icon will look like this:

 Mac Users: Once FileZilla downloads to your Downloads folder, you should move it to your Applications folder. If you get the following error see below:
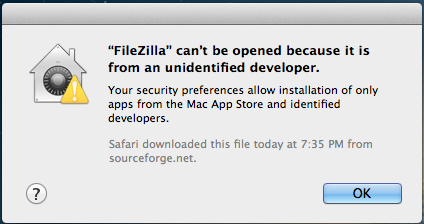
To fix this problem, do the following
- Click the Apple logo in the top left of the Desktop, go to your System Preferences and to the Security & Privacy settings.
- When the Security window pops up, make sure the "General" tab is selected, and click the lock symbol in the bottom left corner to unlock it.
- It will prompt you for your system password, which you should enter.
- Under "Allow applications downloaded from:", select "Anywhere" instead of "Mac App Store". This should correct the issue.
Step 2 Log on to the CS Server using FileZilla
When you double click on the FileZilla icon (shown above), the following screen will appear:
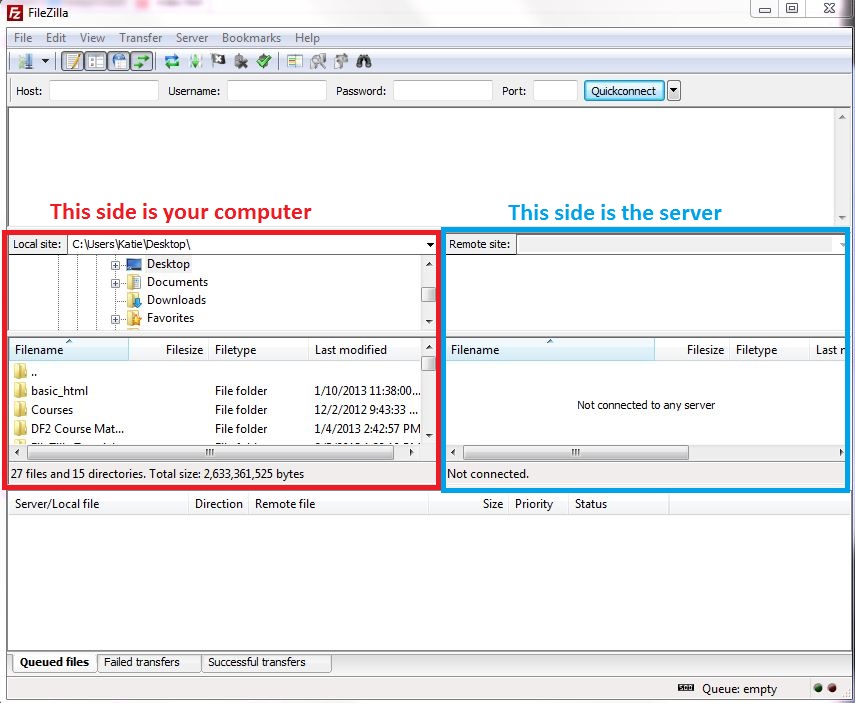
The left side is the items on your computer and the right side shows the files and folders on the server. First you need to log into the server.
Type the following information as shown in the image:
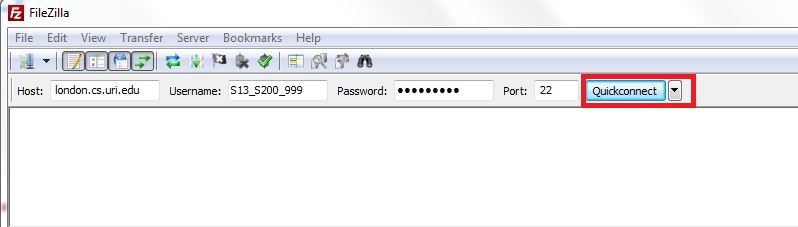
- Host: london.cs.uri.edu
- Username: your username from the discussion board, such as S13_SX_XXX, where SX is your section and XXX is a unique number assigned to you)
- Password: Your URI ID number (100...)
- Port: 22
then press "Quickconnect". Once you are connected, you will see the following screen:
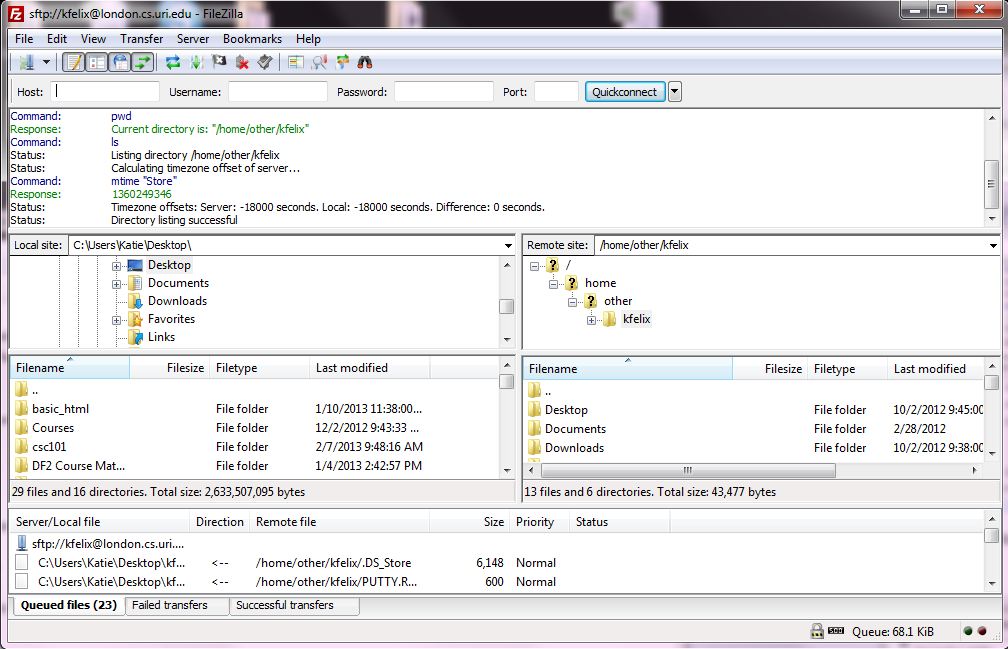
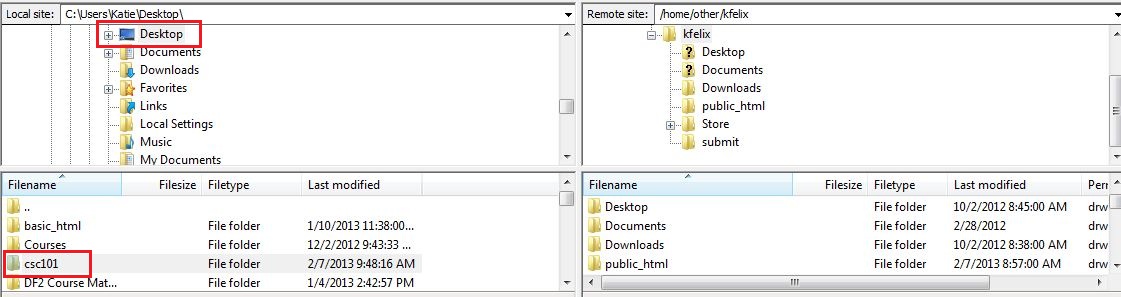
Step 3 Navigate to your "csc101" folder Located on your Desktop
With the Desktop selected in the "Local site:" (top left box), navigate to your csc101 folder that has your html file and jpeg image(bottom left box) as shown in the image below.
Step 4 Navigate to your Web Site Directory on the CS Server
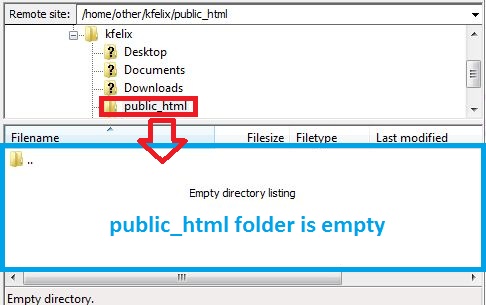
In order for the public to see your website, you need to put the files in your "public_html" folder. Do the following steps:
- Double click your public_html folder. In the box below, you will see the contents of the folder, which indicates it is empty, as shown in the following image:
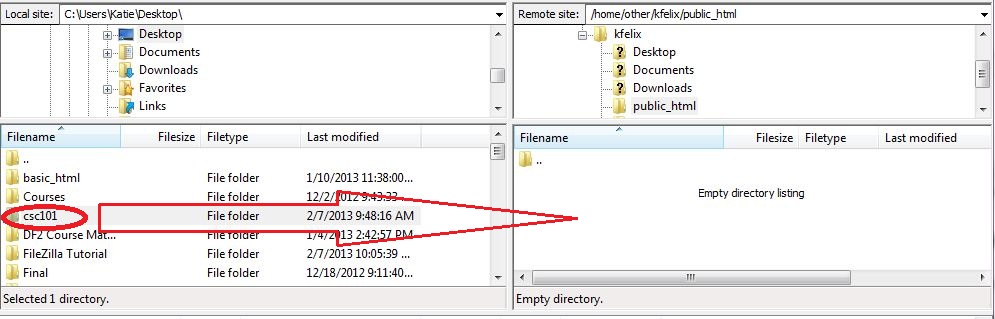
- Drag your csc101 folder from the bottom left box to the public_html folder in the bottom right box.
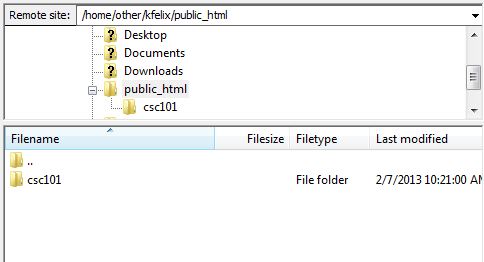
- After the file has been copied to the server (or "uploaded"), you will see that the csc101 folder is in your public_html folder.
Opening your Webpage
Now that your files are on the server, the public can see your website. In order for them to see your files, you need to give them a URL to see your webpage. Follow these steps to get your URL:
- Open a new Internet browser tab in Firefox
- Type in the URL, just like you would www.google.com. The URL will be: http://students.cs.uri.edu/~USERNAME/FolderName/HtmlFileName
- USERNAME = Your discussion board username (S13_SXX_XXX)
- FolderName = the name of the folder you put into your public_html (ex. csc101)
- HtmlFileName= the name of the HTML file (ex. topic.html)
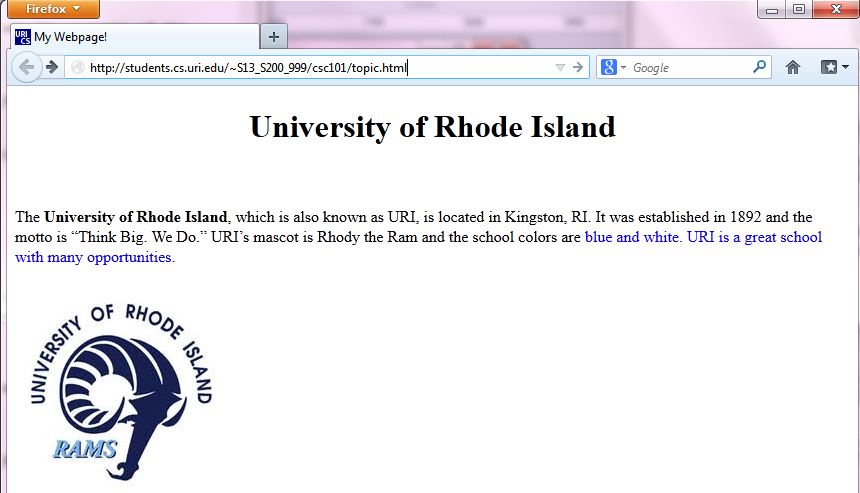
An example of the URL would be http://students.cs.uri.edu/~S13_S200_999/csc101/topic.html

Important: The spelling of your folder name and HTML file name must match EXACTLY. If your folder is called Csc101 then your URL will be
http://students.cs.uri.edu/~S13_S200_999/Csc101/topic.html.
If your file name is called ToPiC.HtMl then your URL will be http://students.cs.uri.edu/~S13_S200_999/csc101/ToPiC.HtMl
- Once you type the URL, hit enter. You should see your webpage:
- The URL is what you will provide your instructor for grading.
Common Errors and Mistakes
If you get the error in the screenshot, check the following:

- The spelling of your folder name AND HTML file have to macth EXACTLY. If the folder is called CSC101, then it has to be CSC101 in the URL. If the file name is ToPiCs.HtMl, then it has to be spelt that way in the URL.
- Make sure you put the tilda(~) before your username
- Your username contains underscores ( _ ), not dashes (-).
- Make sure you out the csc101 folder INSIDE your public_html folder
- If you URL looks like file:///C:/Users/Katie/Desktop/csc101/topic.html , this is incorrect! It will appear fine on your computer, but it will not work on anyone elses computer.